


When embarking on the journey of classic vehicle restoration, the quality of the paint and trim plays a critical role in not only the aesthetic appeal but also the overall value of the automobile. A meticulously restored vehicle should exhibit a flawless finish, which highlights the attention to detail put into the restoration process. This article will delve into essential inspection tips that can guide you in evaluating the paint and trim components of your prized classic car.
Proper restoration entails more than just applying a new coat of paint; it requires a keen eye for detail and an understanding of what constitutes a high-quality finish. Whether you’re assessing a freshly painted surface or the original trim elements, identifying imperfections such as runs, sags, or sun damage is crucial. In this piece, we will equip you with the expertise needed to ensure that both the paint and trim uphold the standards expected of a truly restored classic.
As you prepare to inspect the paint and trim on your restored vehicle, it is important to adopt a methodical approach. This involves examining not only the visual quality but also the materials and techniques used throughout the restoration process. Armed with the right knowledge, you can preserve the integrity of your classic vehicle while enhancing its beauty and value for years to come.
Evaluating Paint Quality: Key Indicators to Look For
When assessing the paint quality on a restored classic vehicle, several key indicators can help determine the level of craftsmanship and attention to detail that went into the restoration process. Begin by examining the surface for uniformity. A high-quality paint job should exhibit a consistent color and finish across the entire vehicle, with no noticeable variations or patches.
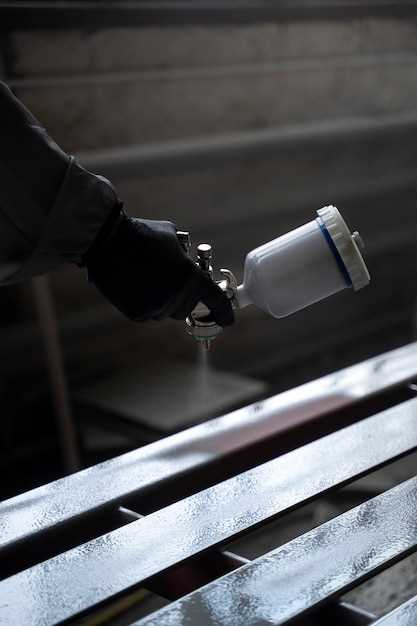
Next, inspect the thickness of the paint. An ideal restoration involves multiple layers applied evenly, which not only enhances the visual appeal but also provides durability. Use a paint thickness gauge to measure the coating; seek a reading that indicates an appropriate depth. Too thin a layer may suggest inadequate protection, while excessively thick paint could mask underlying imperfections.
Look for the presence of orange peel, a texture reminiscent of an orange’s surface, which can indicate insufficient surface preparation or poor application techniques. A quality finish should be smooth and glossy, reflecting light evenly without distortion.
Examine the edges and corners for proper masking. Clean lines at junctions, such as where the body meets trim or around windows, reveal meticulous attention during the restoration process. Jagged or smeared edges indicate carelessness, detracting from the overall aesthetic.
Check for any signs of dust nibs or particles embedded in the paint. While some minor imperfections may be inevitable, a well-executed job should minimize these flaws. Also, assess the paint’s depth and clarity. A high-gloss finish that appears deep often suggests the use of quality materials and skilled application techniques.
Finally, look for evidence of any paint cracks, bubbles, or fading. These can indicate improper curing or the use of inferior materials, which may lead to further deterioration over time. A thorough evaluation of these indicators will help in determining the quality of the paint on a restored classic vehicle and whether it meets the expectations of a true restoration.
Common Trim Issues in Restored Vehicles: How to Spot Them
When reviewing a restored vehicle, it’s essential to pay attention to the trim, as it can significantly affect the overall appearance and value of the car. Common trim issues can arise during the restoration process, and identifying these problems early can save you time and money.
One frequent issue is misalignment. Trim pieces should fit snugly along the body panels, but during restoration, they may not be realigned correctly. Check for gaps or overlaps that can indicate improper installation. Pay particular attention to areas around the doors, windows, and bumpers.
Another common problem is corrosion. Even after restoration, certain trim components, especially those made of metal, may still be susceptible to rust if not adequately protected. Inspect for any signs of rust, pitting, or bubbling in the paint, which can signal underlying issues.
In addition to rust, fading and discoloration can occur due to exposure to the elements. Examine the trim for uneven coloring, especially if it was painted or treated during restoration. A consistent look across all trim pieces is crucial for a professional finish.
Cracks and chips are also prevalent concerns. Plastic and rubber trim can become brittle over time or due to improper handling during restoration. Look for any signs of damage that may detract from the vehicle’s aesthetic. Pay attention to the edges where trim meets the paint, as this is often where chips occur.
Lastly, check for inadequate adhesion. Trim pieces that were glued or taped may lose their bond over time, leading to gaps or even detachment. Ensure that all trim is securely attached and inspect for any signs of peeling or irregular surfaces.
By being vigilant and conducting a thorough inspection of the trim on restored vehicles, you can identify these common issues early, ensuring your investment is both beautiful and enduring.
Understanding Classic Paint Techniques: Maintenance and Care
Classic paint techniques are essential elements of vehicle restoration, requiring careful consideration during maintenance and care. The paint finishes of restored vehicles are often unique, reflecting the style and craftsmanship of the era. To preserve their authenticity, understanding the specific characteristics of these techniques is crucial.
Appropriate maintenance begins with regular cleaning. Use a gentle pH-balanced car wash soap and a soft microfiber cloth to avoid scratching the surface. Rinse thoroughly to ensure no soap residue remains, as it can cause dullness over time. For classic paint, avoid harsh chemicals and automatic car washes that can damage the finish.
Polishing is another vital aspect of care. A high-quality carnauba wax or a polish specifically designed for classic finishes can provide a protective barrier against environmental elements. Regularly applying wax helps maintain the gloss and depth of color, ensuring that the vehicle looks its best. Be cautious with buffer machines; using them incorrectly can lead to unwanted swirls or burns in the paint.
Also, consider the importance of UV protection. Sun exposure can cause significant fading and degradation in classic paint finishes. Parking the vehicle in shaded areas or using car covers can greatly extend the lifespan of the paintwork. Applying a UV protectant spray helps shield the paint from harmful rays.
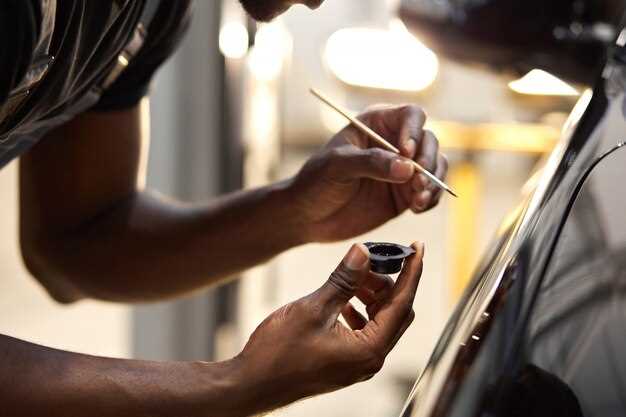
Periodic inspections should be conducted to identify any signs of deterioration, such as chipping or cracking. Early intervention can prevent larger issues during the restoration process. If repairs are needed, consider using similar paint materials and techniques to maintain authenticity.
In conclusion, understanding classic paint techniques is vital for effective maintenance and care. Regular cleaning, polishing, and UV protection, along with timely reviews of the paint condition, will ensure that restored vehicles retain their charm and value for years to come.


